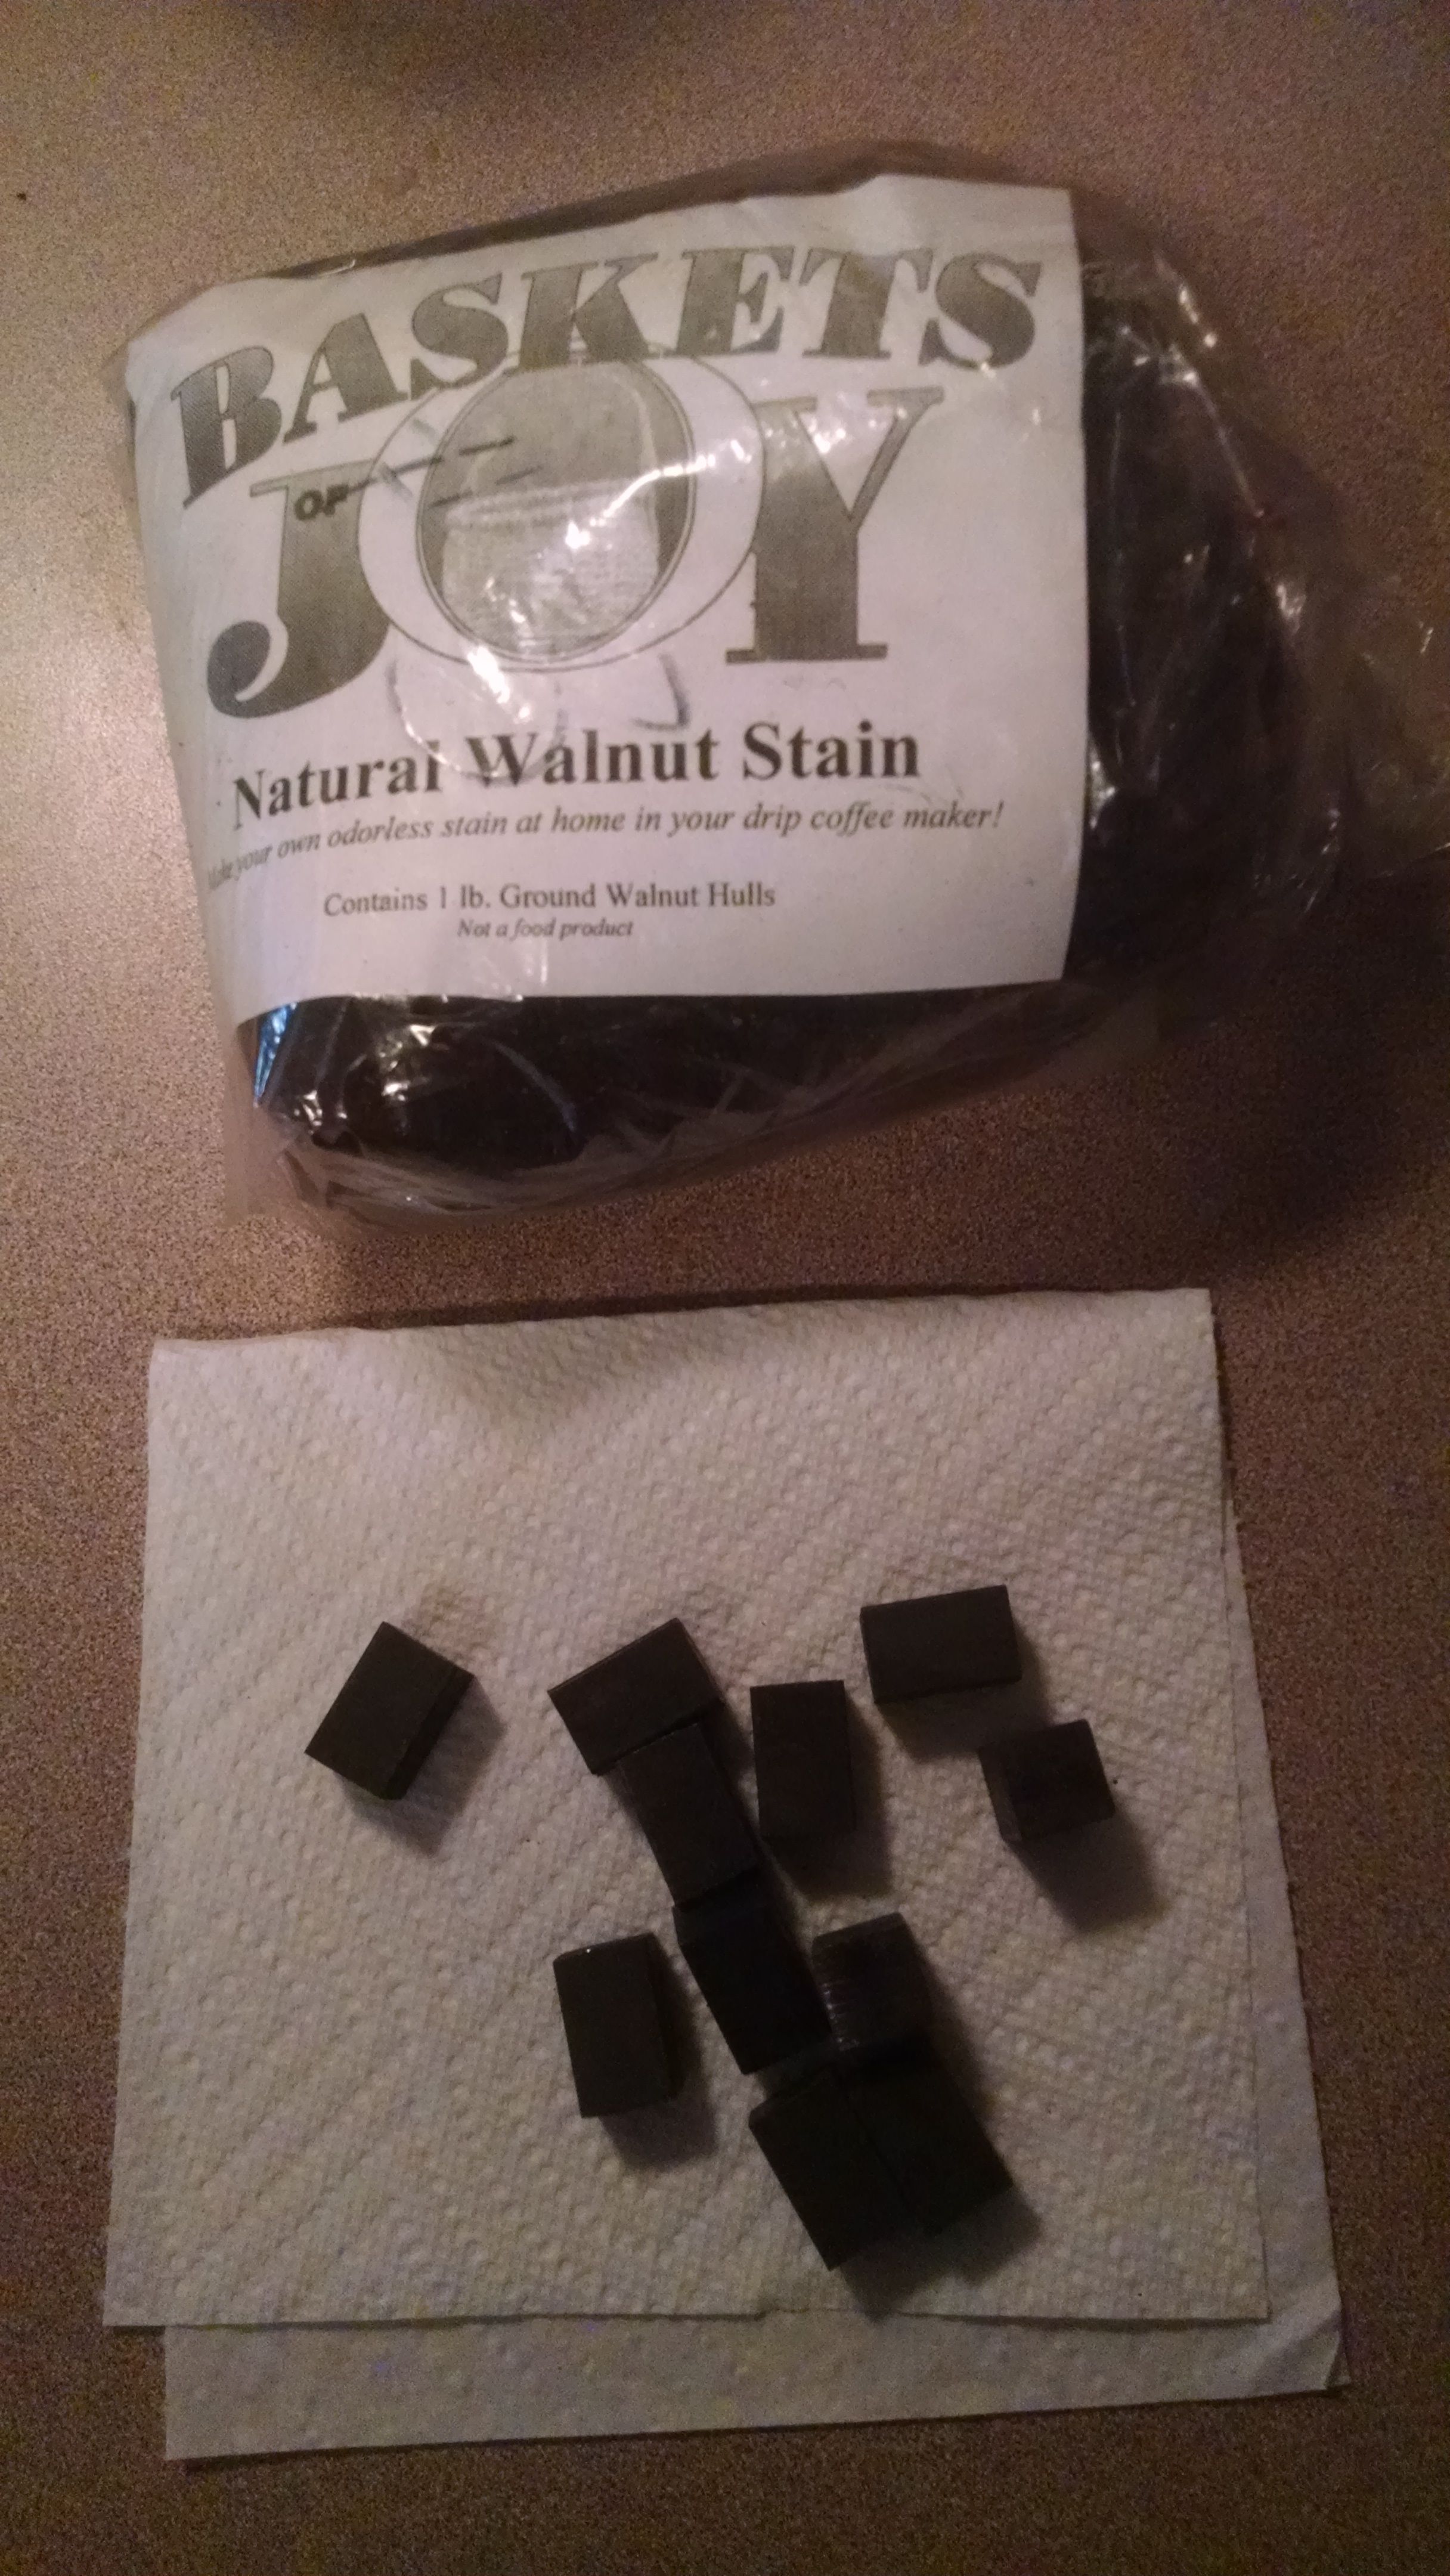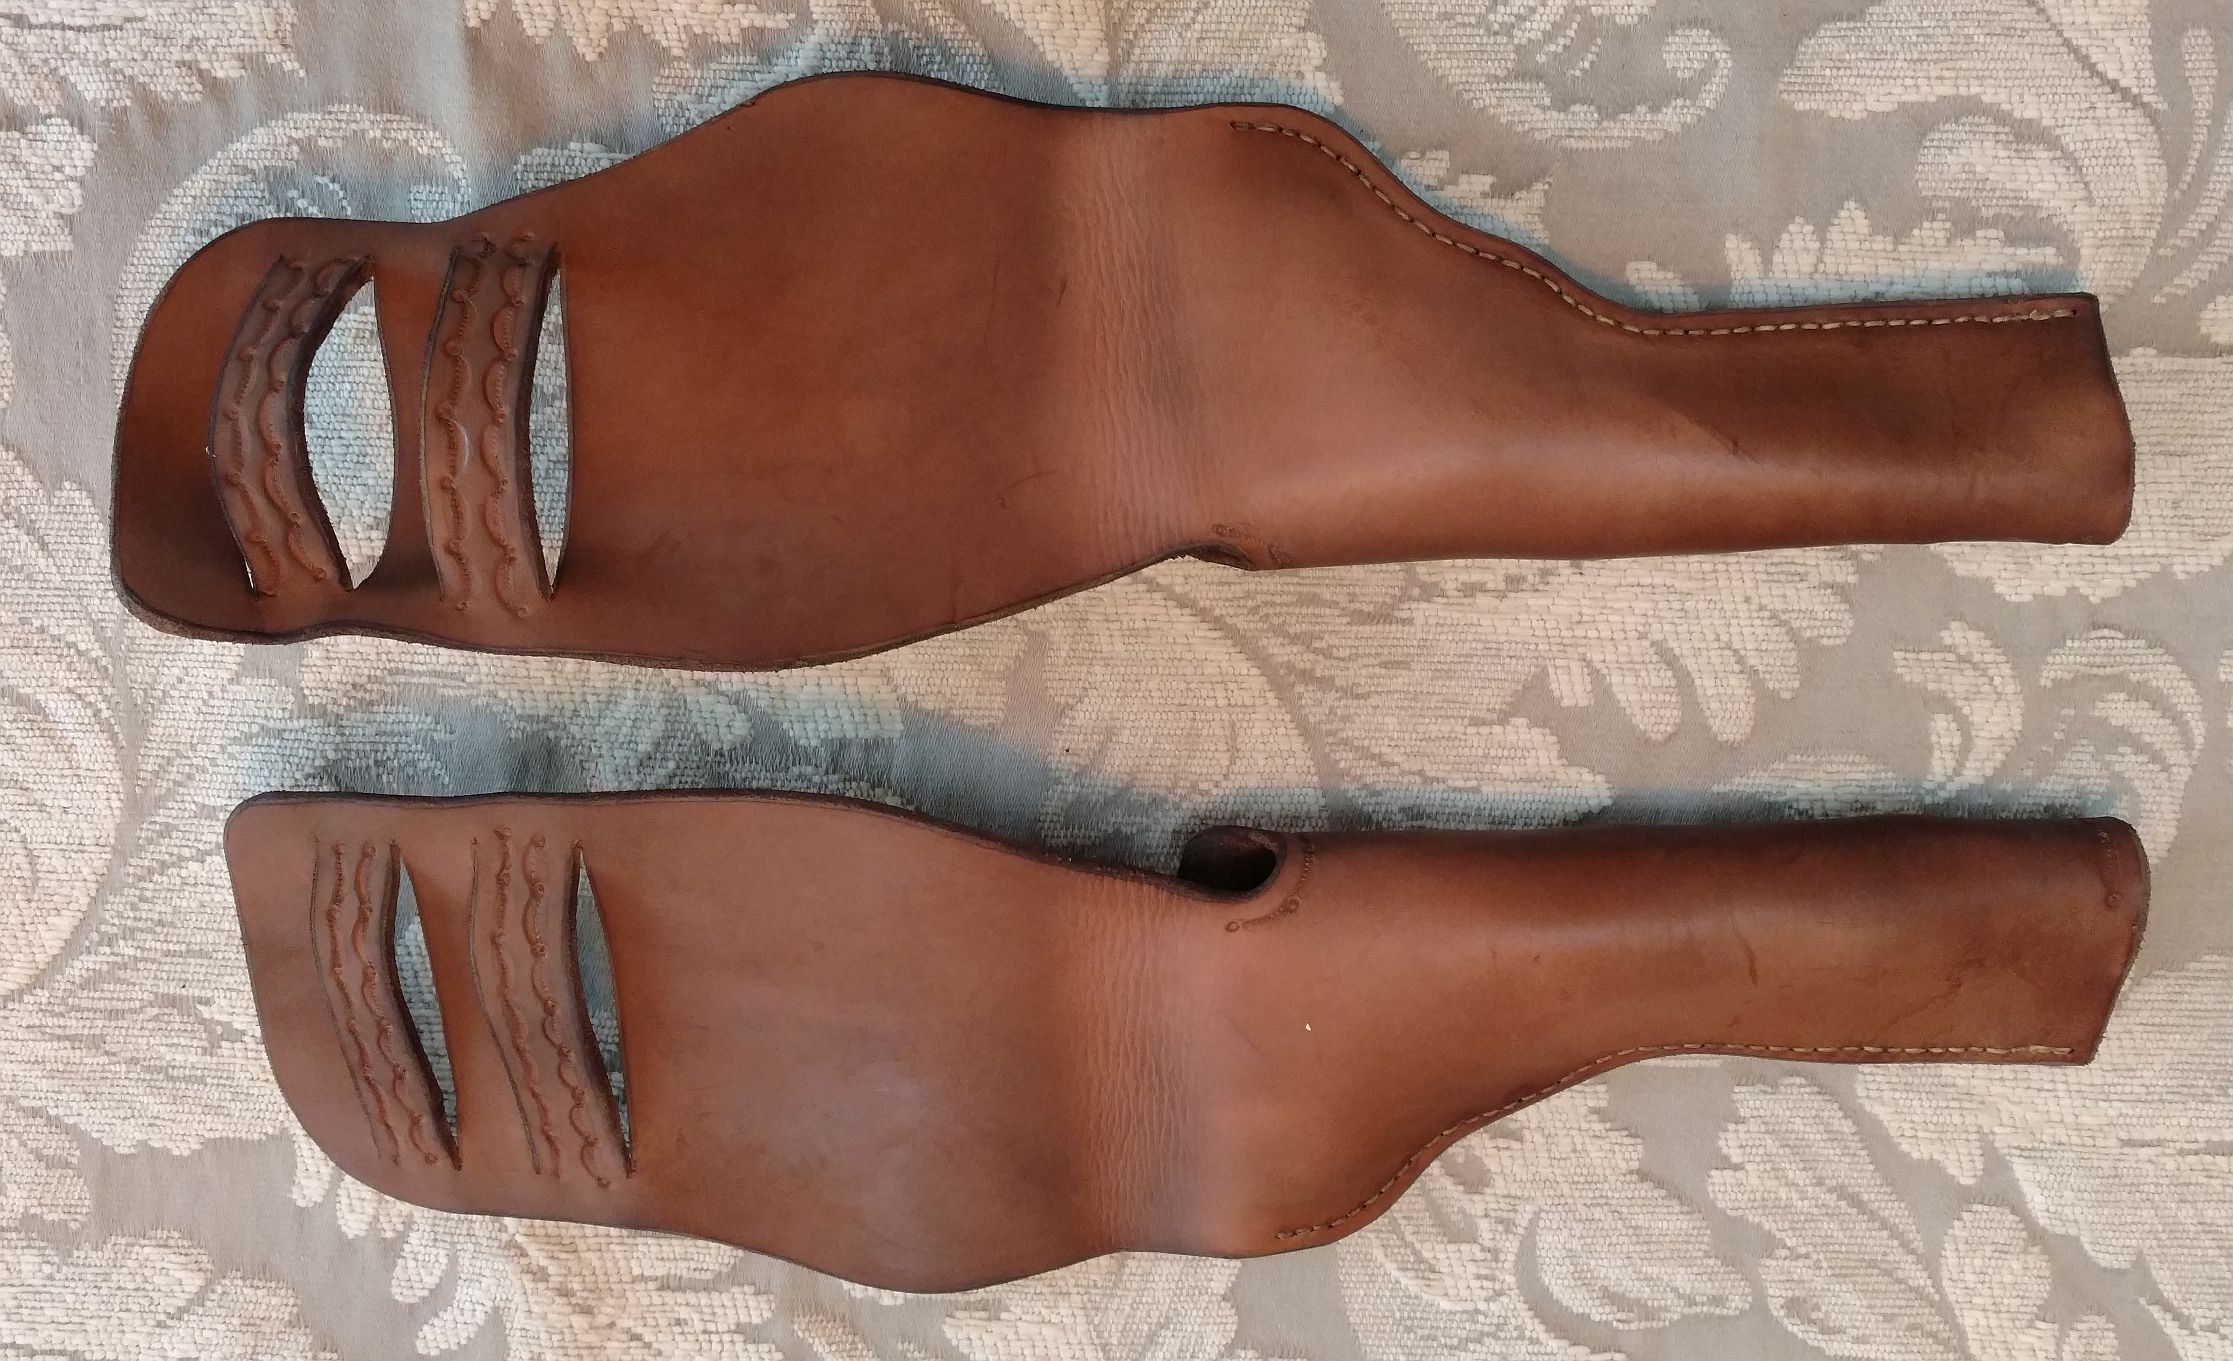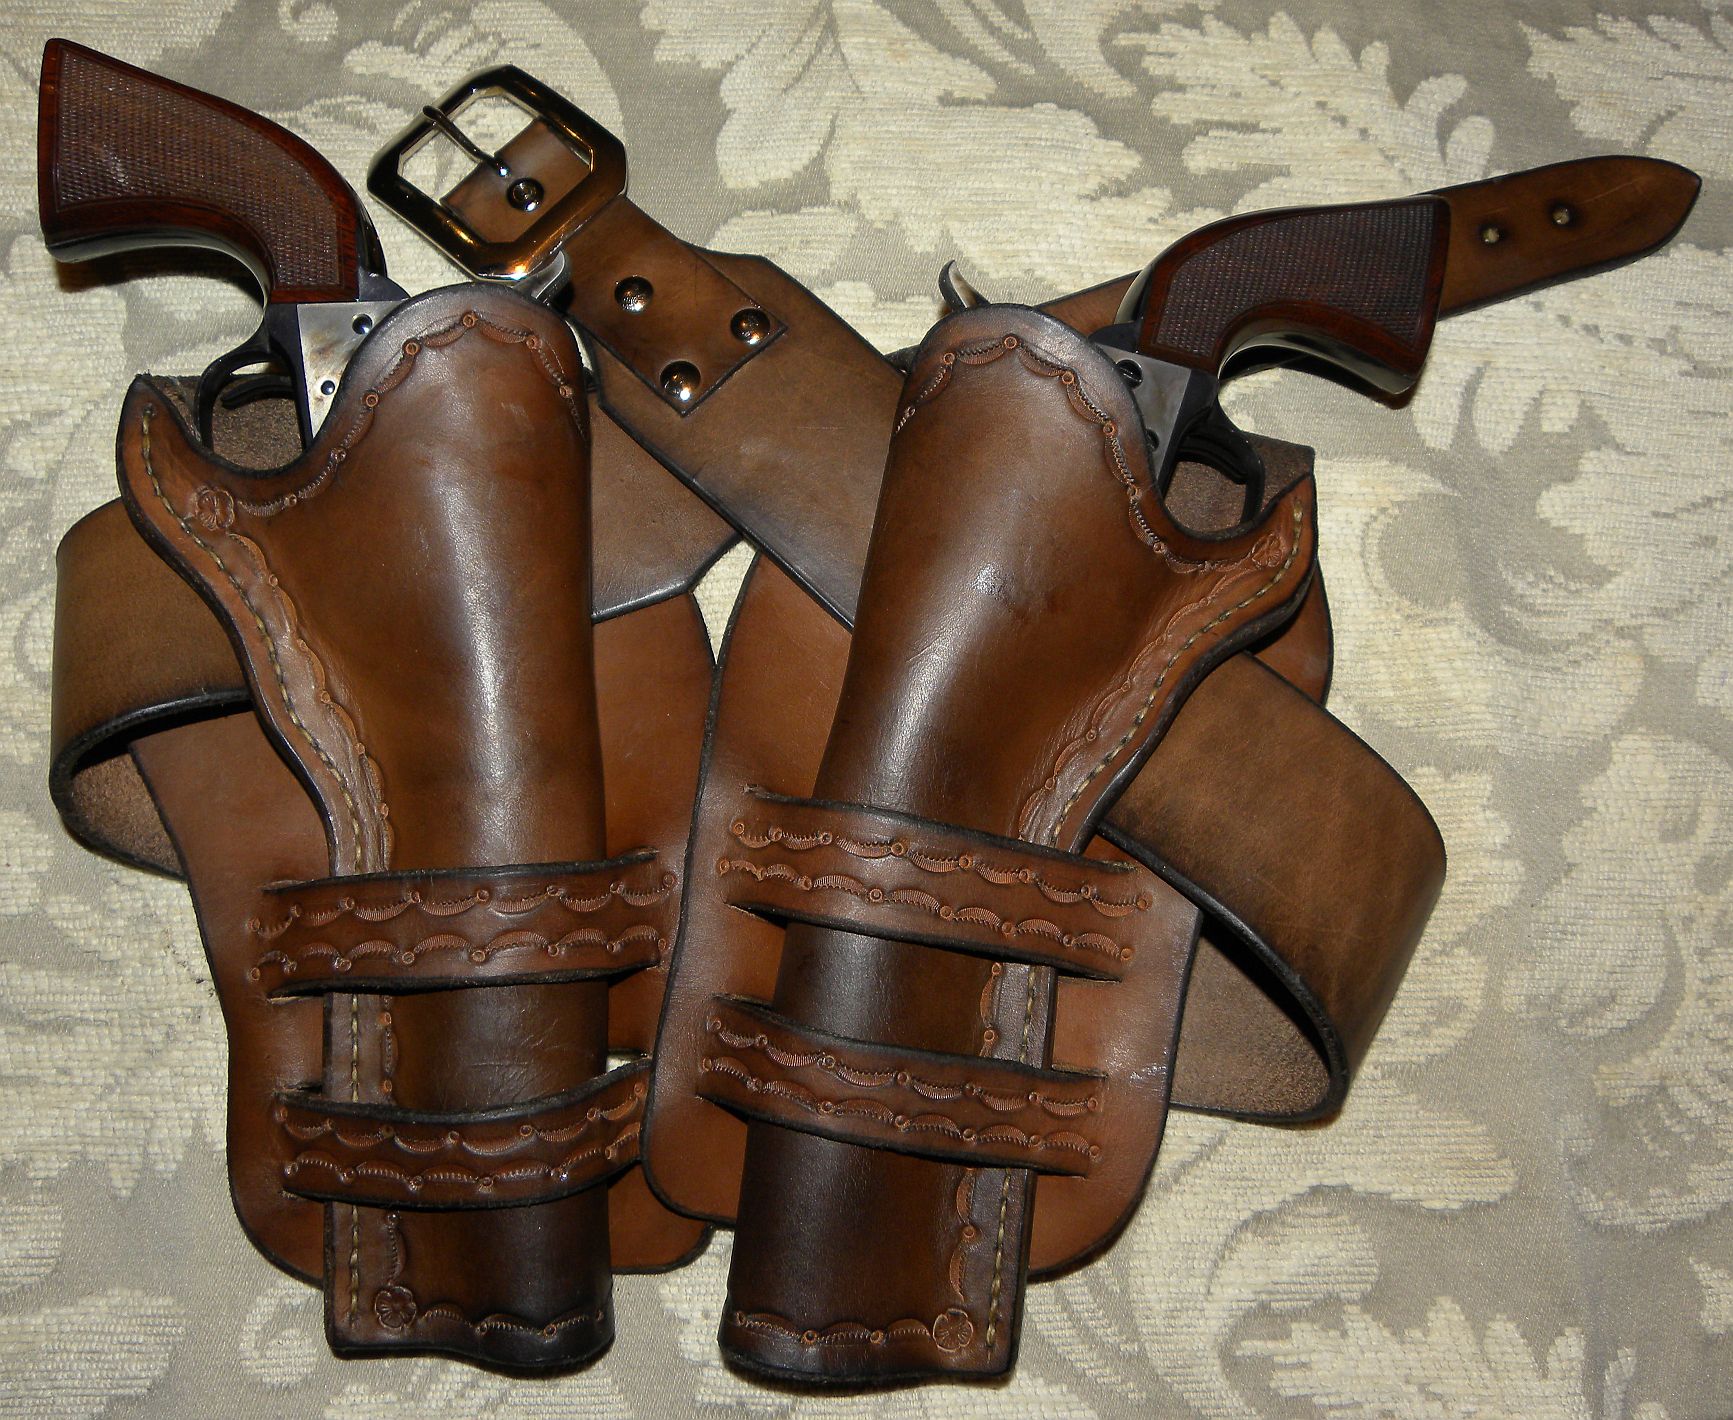
Basically I use a Walnut Dye brewed with Green Walnut Hulls and a Black Dye called Vinegaroon brewed with Vinegar to dye virtually all of my work. Some of the advantages of using these types of dyes are getting an even rich color and most importantly, a dye that will not bleed off on one’s clothing. My Bride of 52 years inadvertently dumped out my entire batch of Home Brewed Walnut Dye which I've been using since 2009. It was like losing a case of eight year old Vintage Wine. I had some work in progress that I needed to complete. There were no green Walnut hulls available at this time of the year. With the help of Ten Wolves Five Shooter, a Moderator on the CAS City Leather Workers forum, I found some Black Walnut Hull Powder from a company in Brunswick, Maine called “Baskets of Joy” and ordered three pounds. Below are the procedures I used to brew Walnut Dye using Black Walnut Hull Powder.
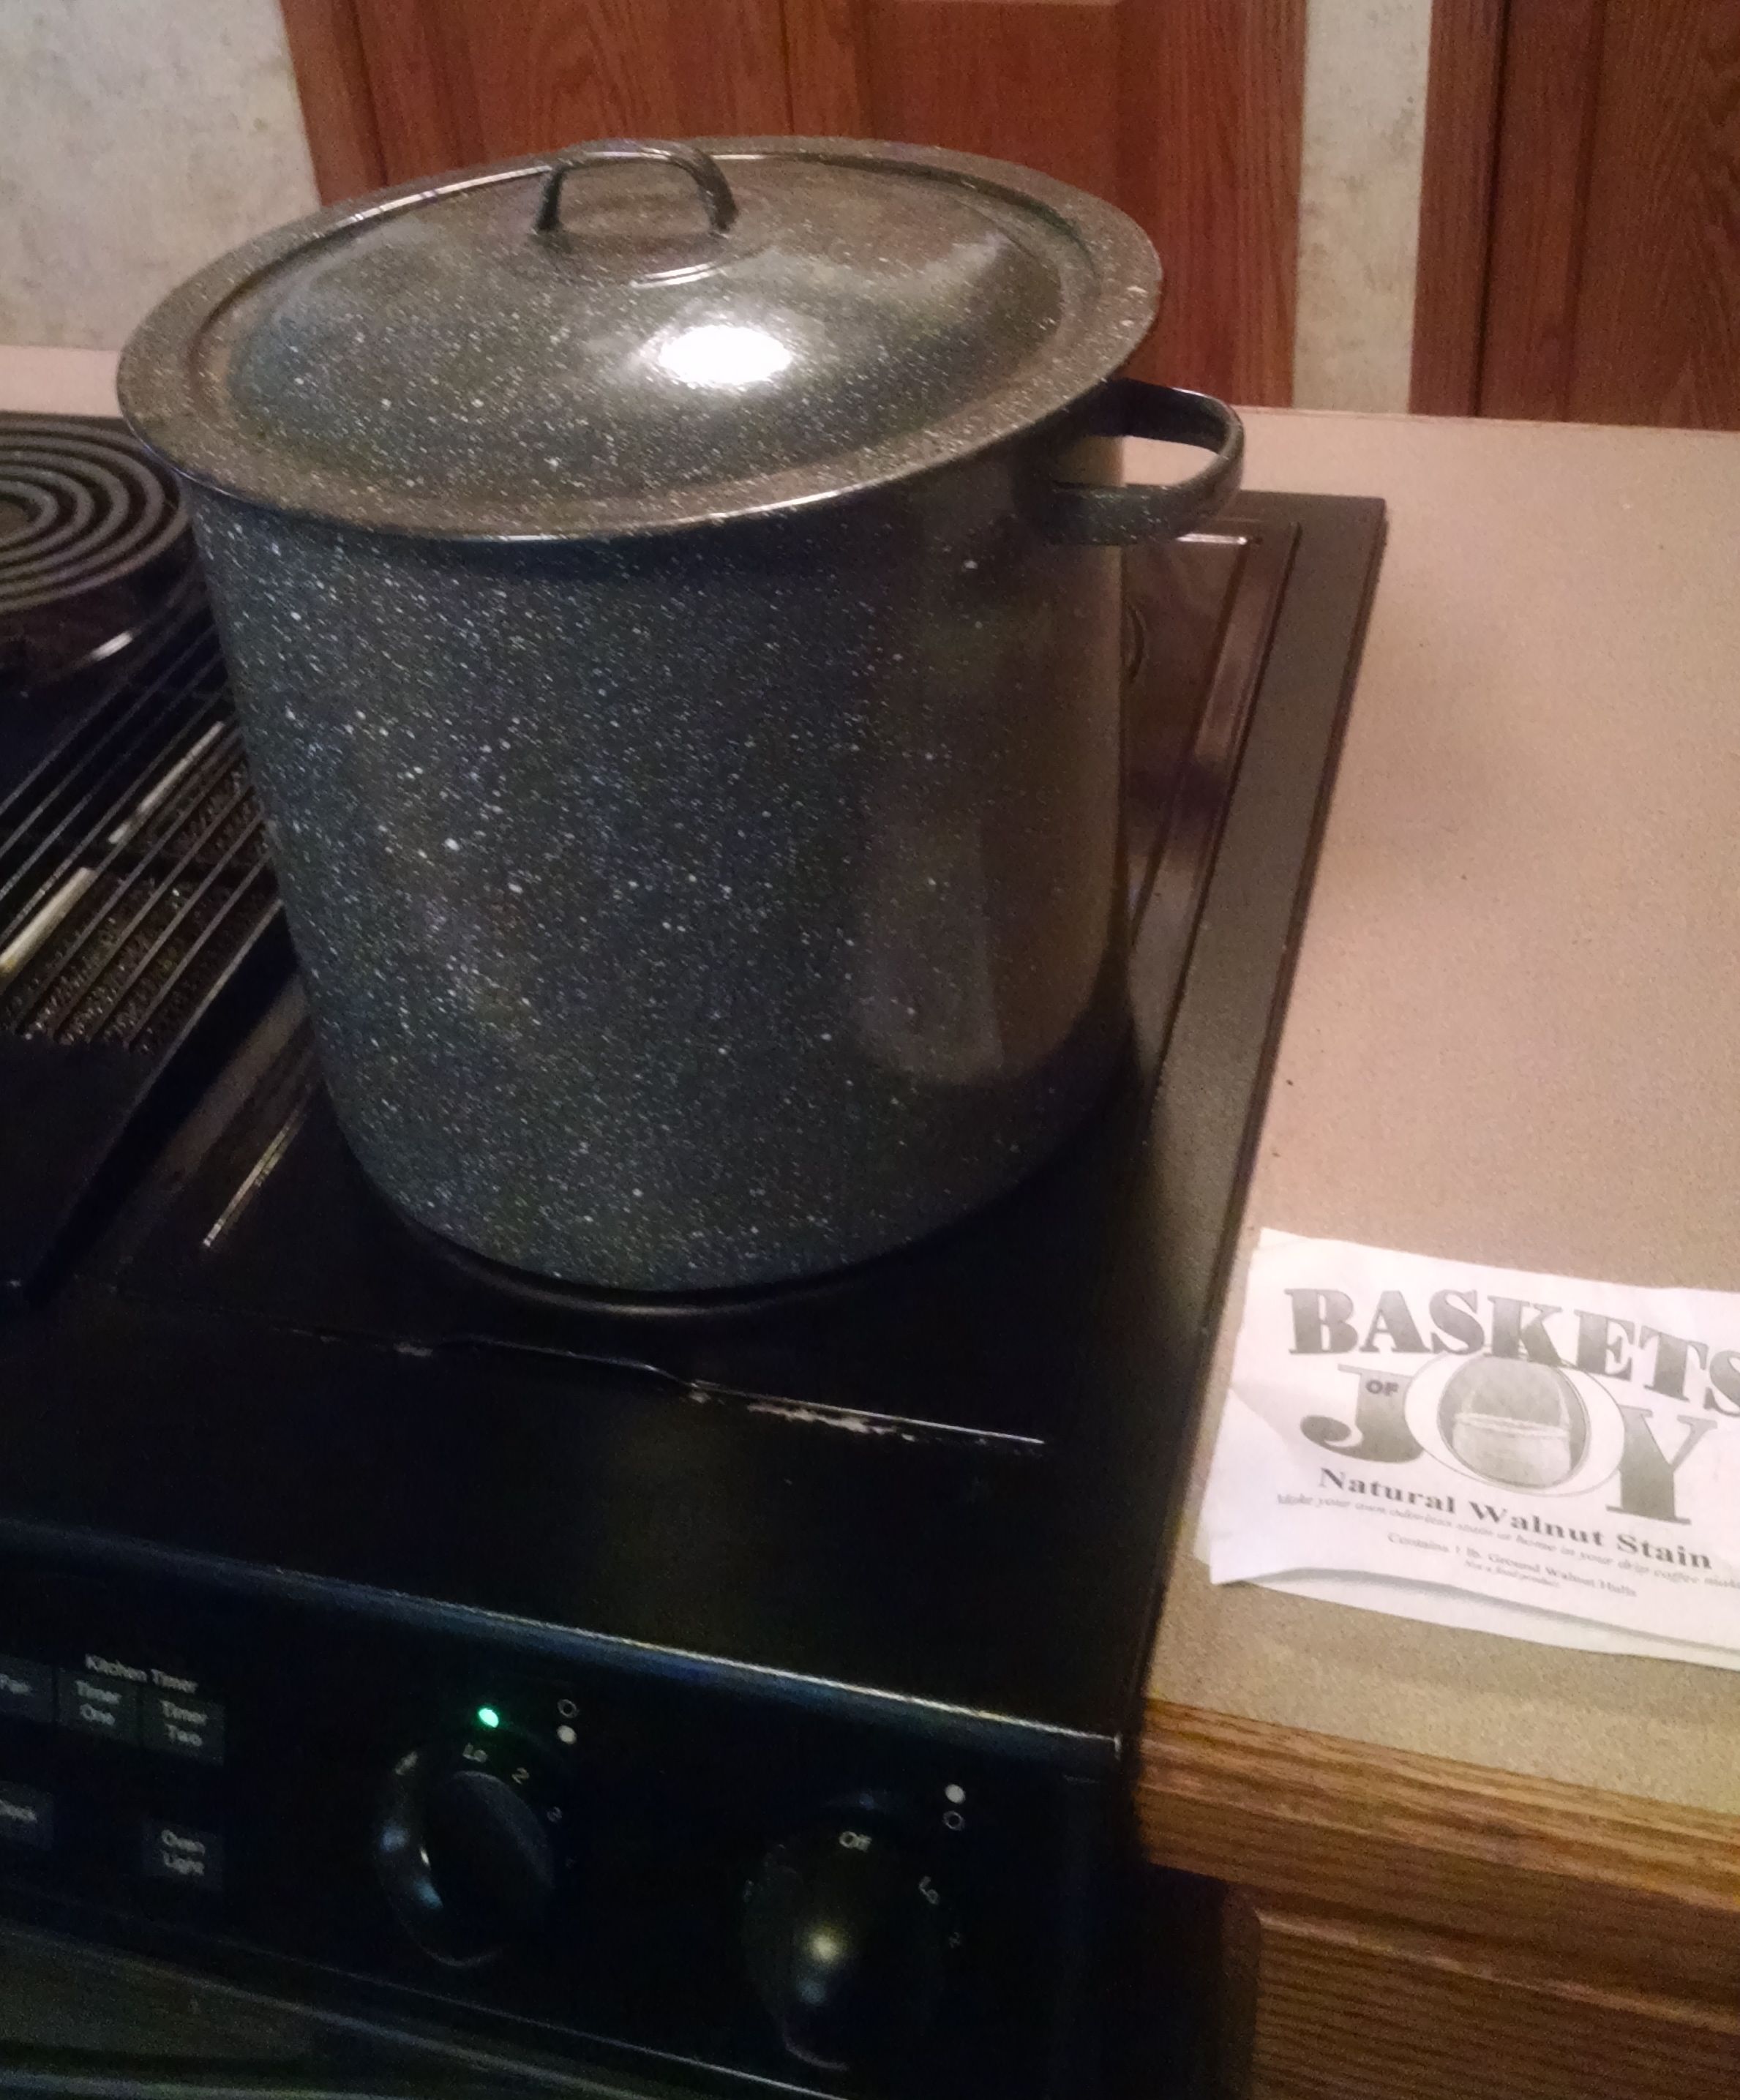
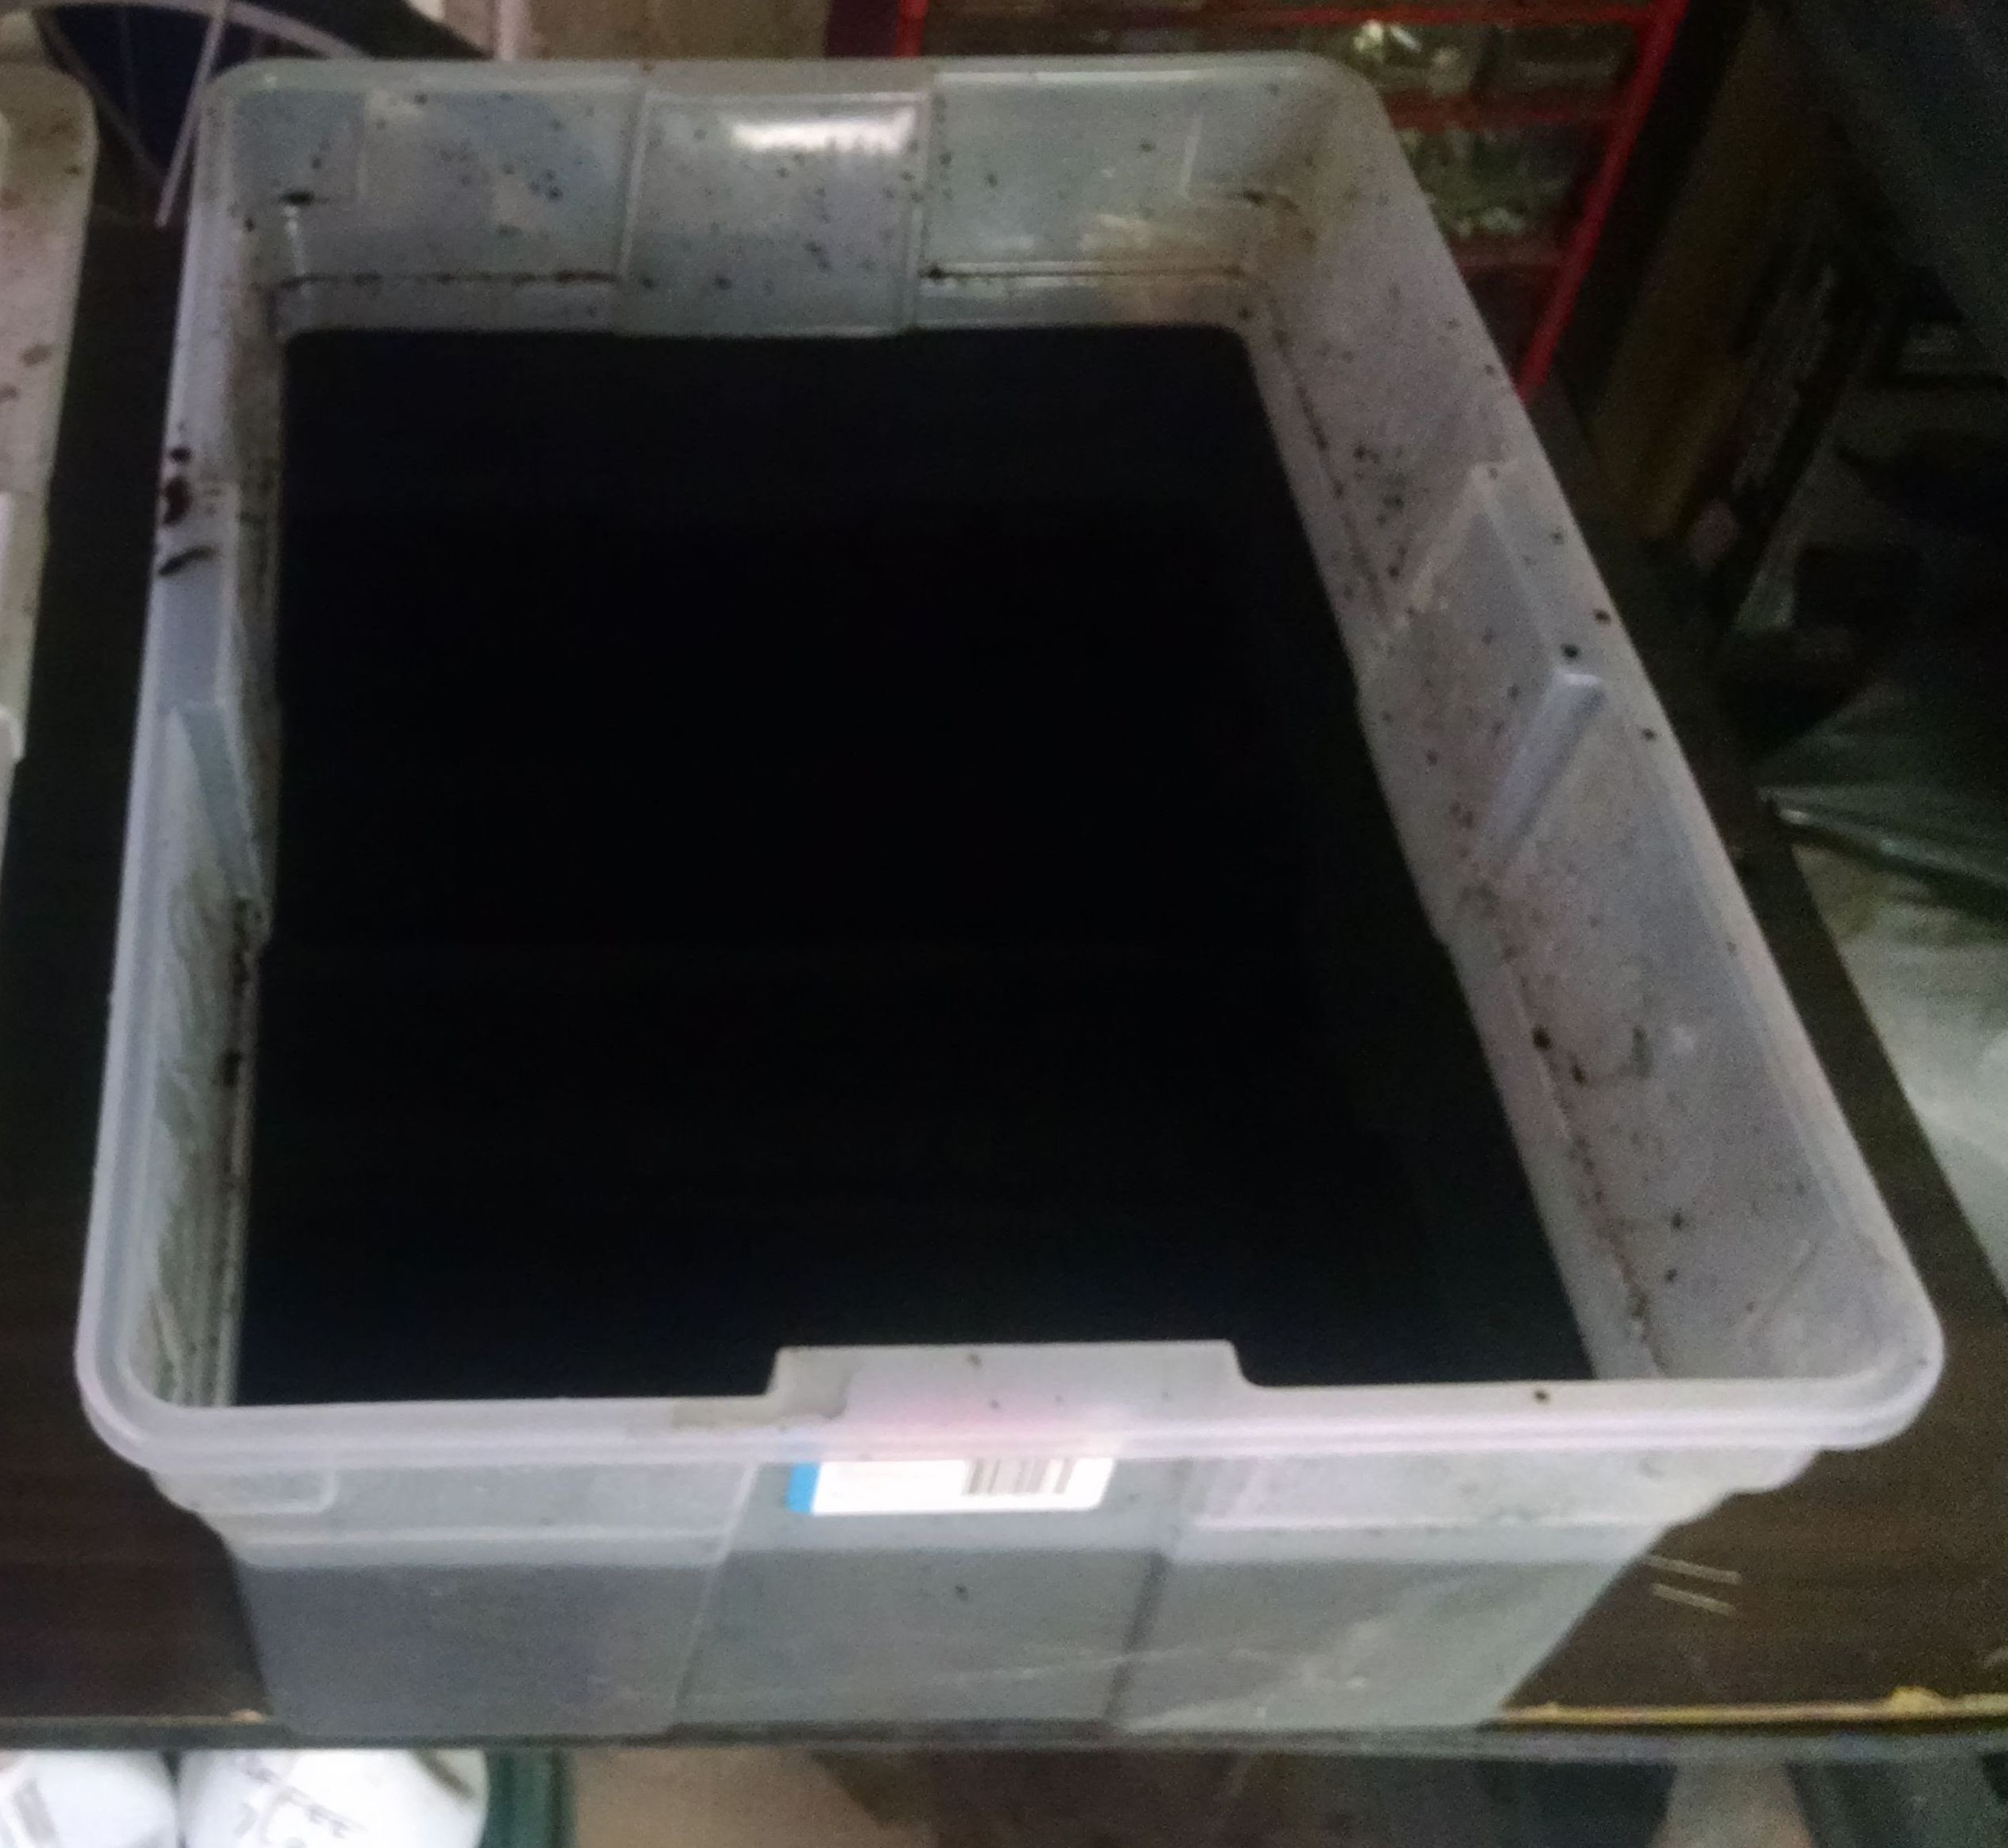
I used a ten quart kettle with a lid for the brewing process. One pound of Black Walnut Hull Powder was added to approx. ten quarts of water. In this solution I added some small pieces of steel to serve as a Mordant. I brought this solution to a boil and then turned the stove down to a simmer. I let this solution simmer for three hours and let it cool overnight. I repeated the procedure twice for a total of three boiling’s and three simmer’s. It is a good idea to monitor the boiling process as the solution starts to reach the boiling point. Foaming can occur when the boiling point is reached. I brewed three ten quart batches for a total of approx. thirty quarts. The three batches were placed into a plastic container with a lid. It is a good idea to strain all of the sediment left from the brewing process out of the container of dye. Prior to immersing an item in the dye, I will clean it with pure Lemon Juice.
This is the part where you will have to do some testing to get an idea of how long the item to be dyed should be immersed in the solution. Hides from various Leather Suppliers can vary in results. When you start a project, put some scraps from the project into the dye for various times. I immersed scraps of leather in the dye for 4 hours to 24 hours and up to 72 hours for the Holster shown in this article. It appears that around a 12 hour period seemed to work well for this specific hide. In my initial testing I had some issues with darker areas on Holsters. I fabricated a bracket from Plexiglass and clamped it to the inside of the dye container. This allows a Holster to be suspended in the solution and not touch any part of the dye container. Another way to avoid darker areas is to turn a Holster over every few hours, rinsing with water between turns. Belts can be placed in the solution “on edge” to avoid darker areas.
After a Holster is pulled out of the dye, I wrap the Pistol with Saran Wrap and wet mold the Pistol to the Holster. I leave the Pistol in the Holster for one half hour. It is important that you allow any item to dry thoroughly before proceeding with the final finishing. This again is another part where you will have to do some testing. After the item was thoroughly dry, I applied two coats of Skidmore's Leather Creme. I let the Skidmore's dry and buffed with a soft brush. Normally I would apply anywhere from 2 to 4 coats of Pure Neet's Foot Oil followed by Skidmore's. I decided to omit the Neet's Foot Oil as it produced too dark of a color. Different lots of leather may produce different results. If it is warm and sunny outside, I let the item dry in the sun. Be aware that drying in the sun can darken the color.
I would like to mention while waiting for my order of Black Walnut Hull Powder to arrive, I brewed up a batch of “Coffee” Dye using the same procedures as I did for the Walnut Dye. I substituted one pound of Dark Roast Coffee for one pound of Black Walnut Hull Powder. While this method did produce acceptable results, it appears that Coffee Dye does not have the shelf life of Walnut Dye.
The procedures I have described using Black Walnut Hull Powder appear to be a little easier and less messy way to brew Walnut Dyes as opposed to using Green Walnut Hulls. That being said, I do miss my original batch of Walnut Dye that was brewed with actual Green Walnut Hulls. My original batch seemed to be more forgiving and produced a more even color throughout a Holster. After What this boils down to (no pun intended) is that you will have to experiment to find out what will work best for you for immersion times and for applying the final finish. As mentioned, it is best to test on scraps of leather before dyeing a finished item. You also may want to experiment first with brewing up a small batch of “Coffee” Dye.
As soon as Green Black Walnut Hulls are available, I will be brewing up a fresh batch of Walnut dye.
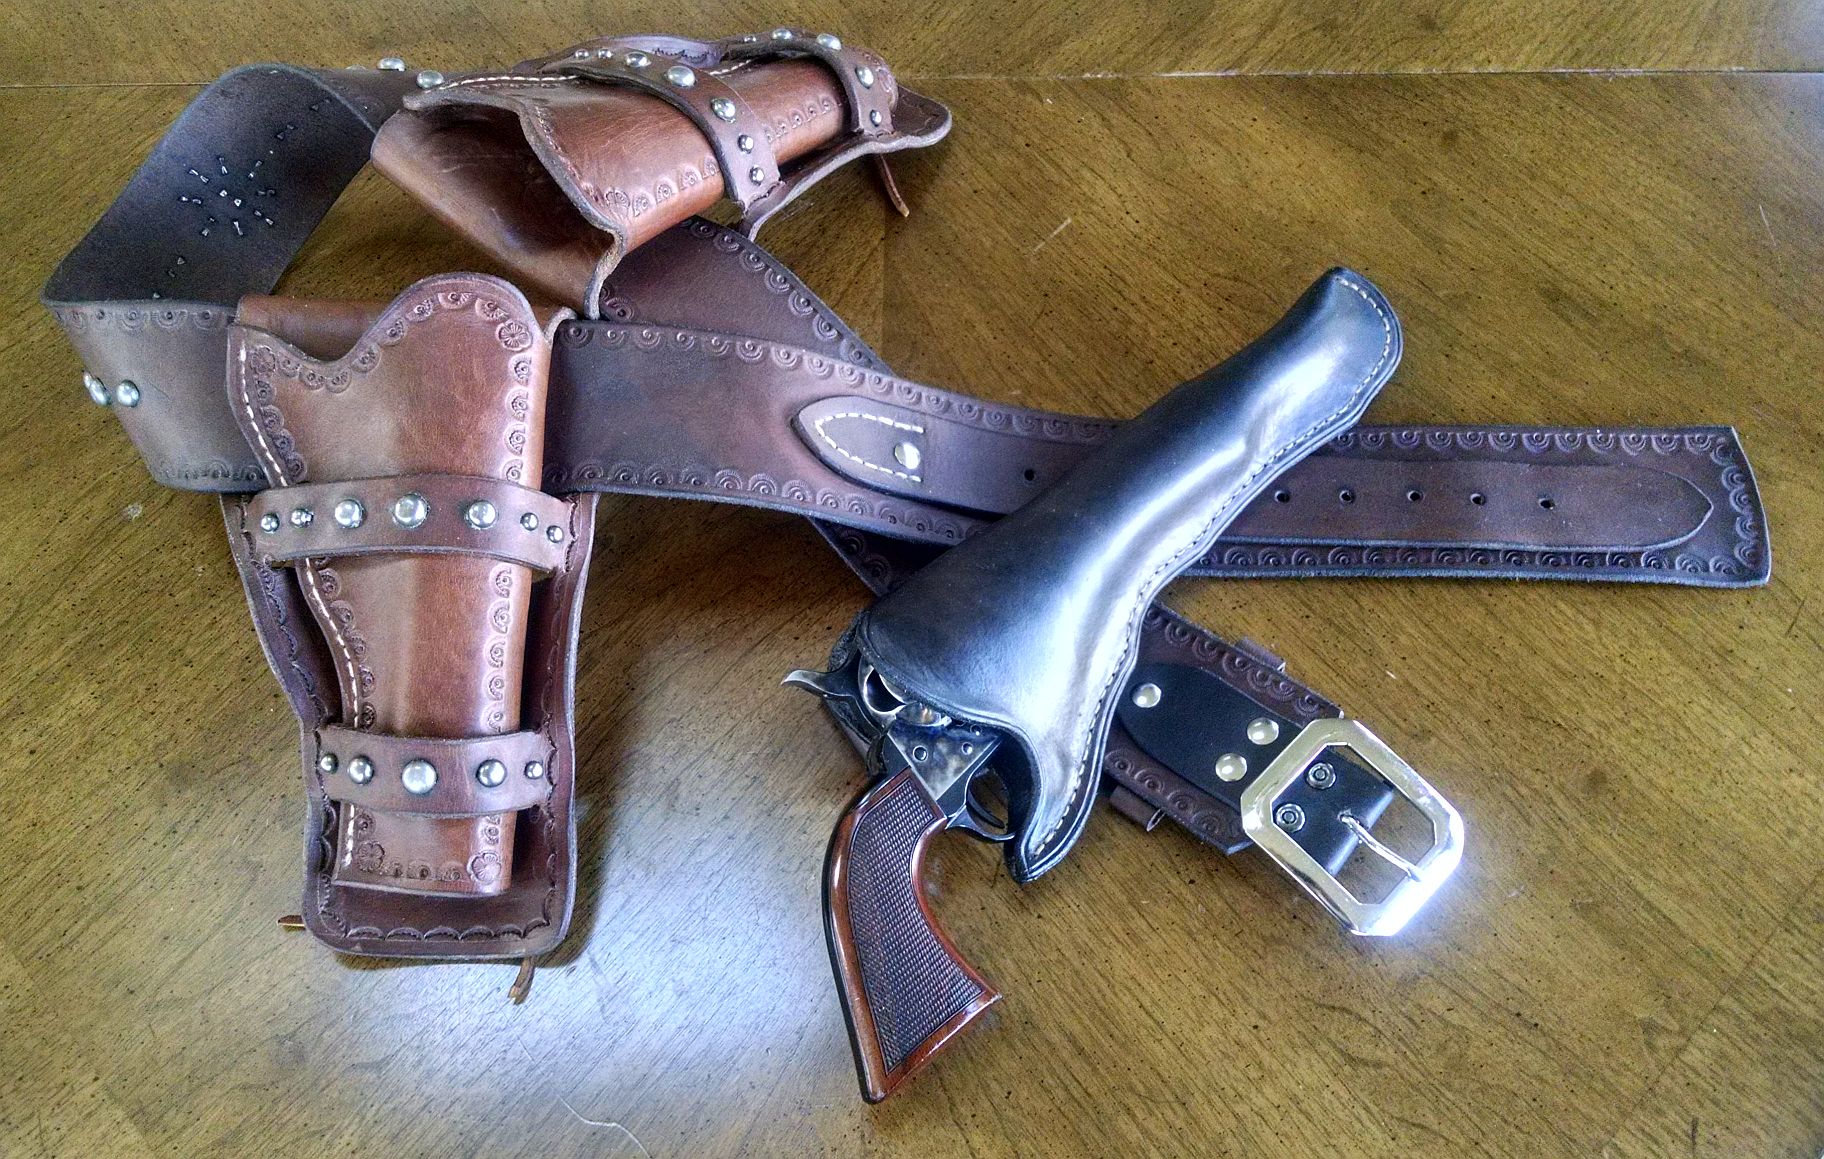
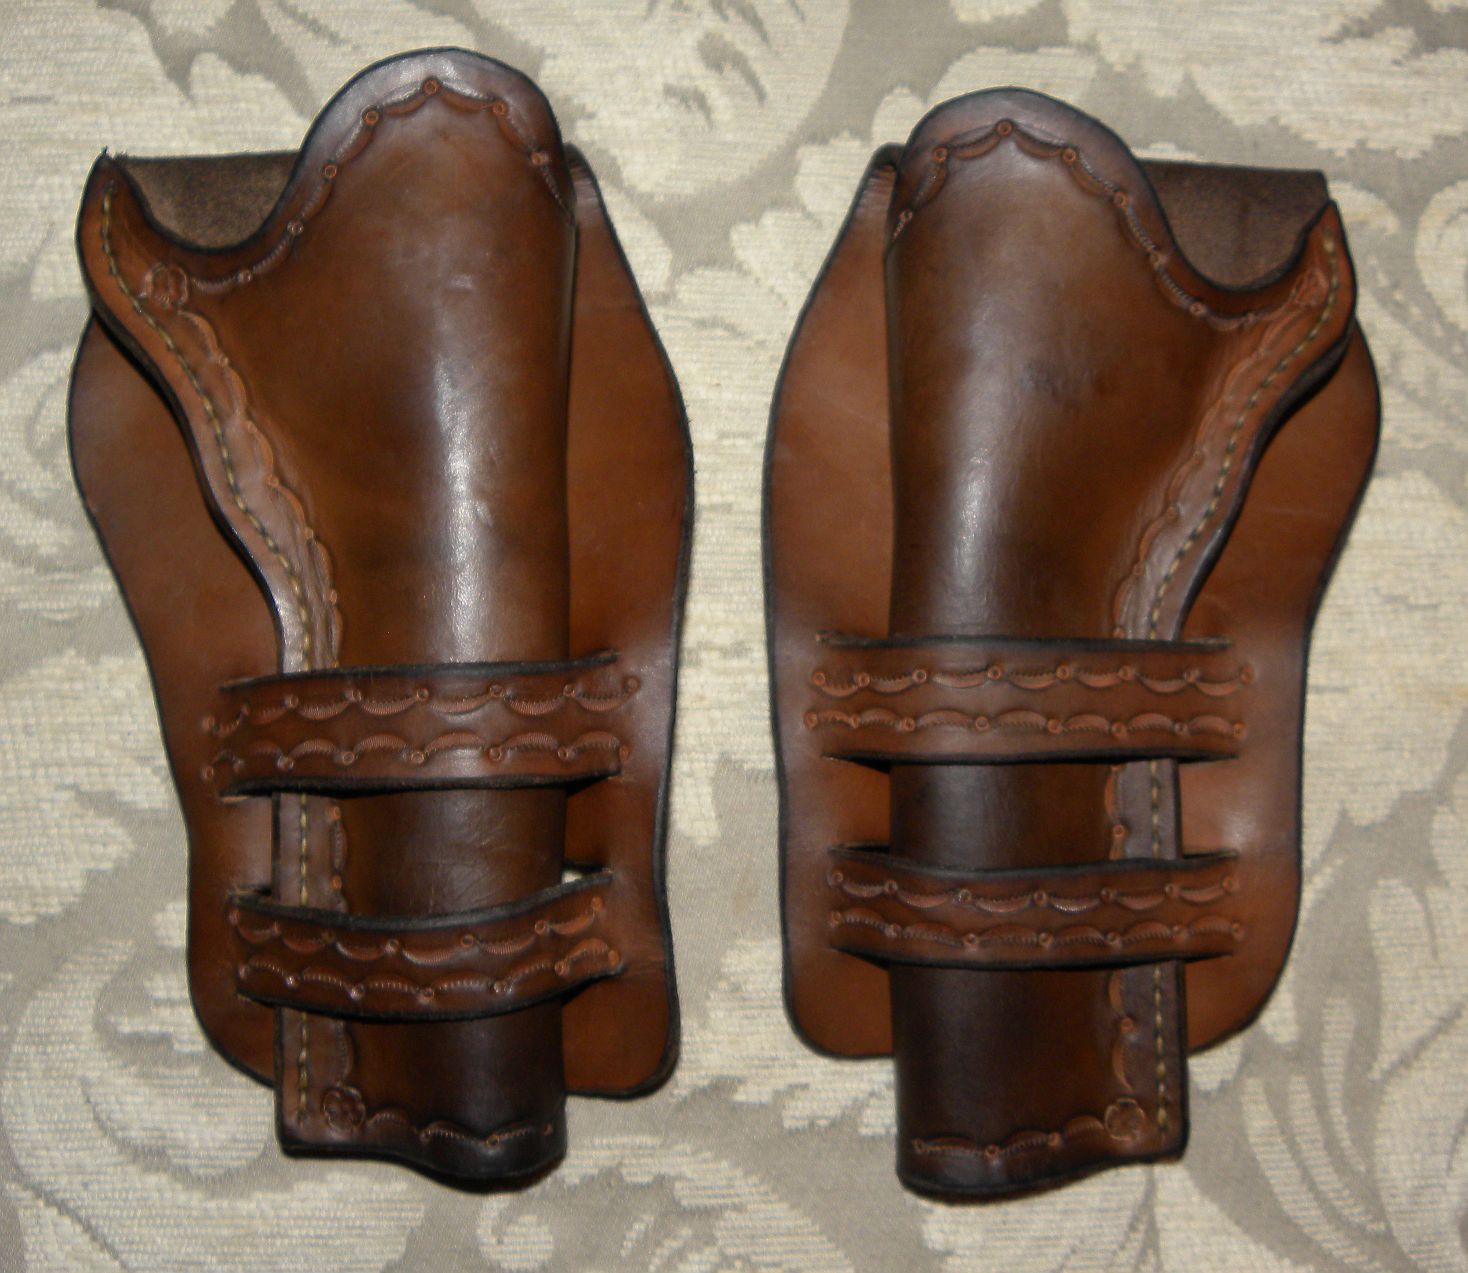
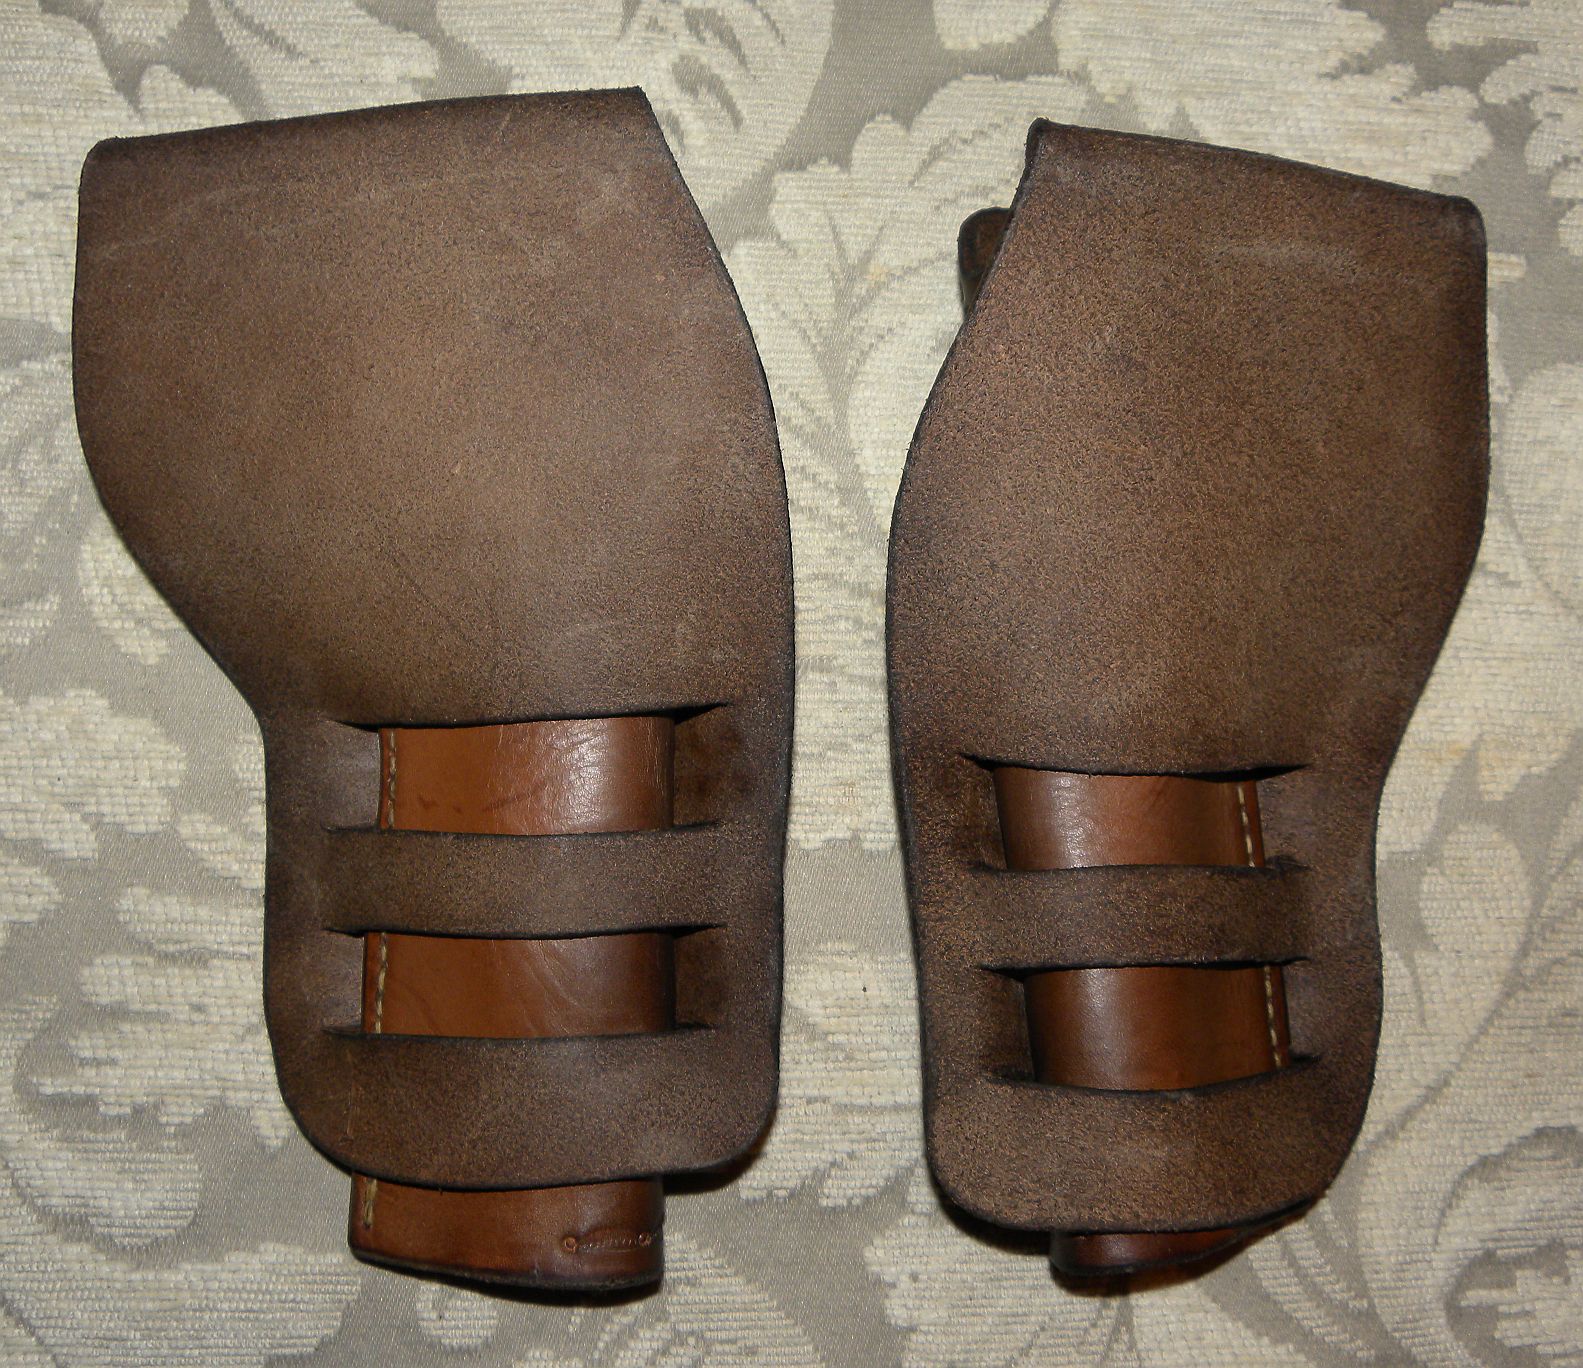
Below are pictures of a Holster & Belt showing the final results
12 Hours in the Walnut Dye
2 coats of Skidmores Leather Creme
